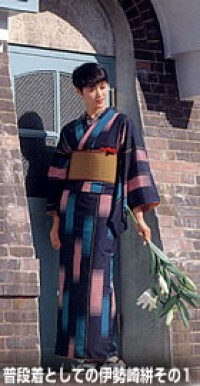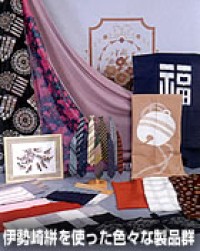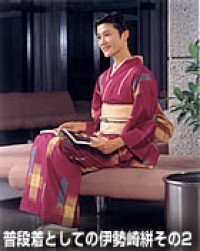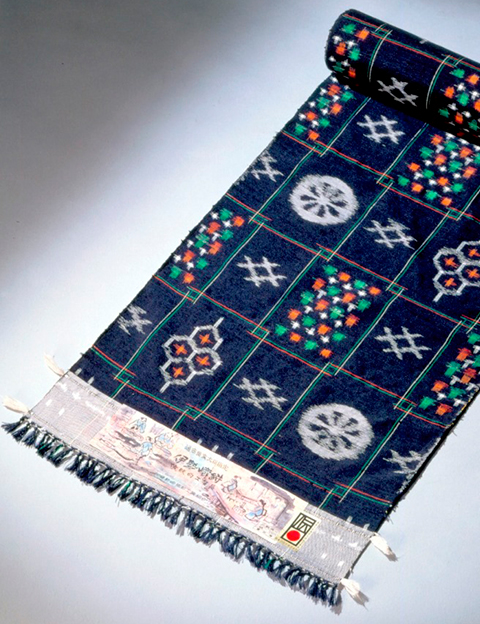
Technology/techniques
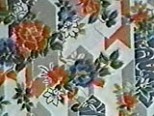
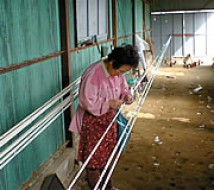
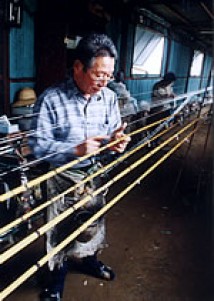
1. The fabric must be a kasuri textile woven using one of the following techniques or methods.
(1) The fabric shall be plain weave with pre-dyed yarn.
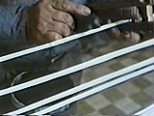
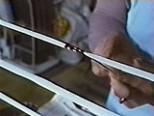
(2) Kasuri thread shall be used for warp and weft threads or as weft threads.
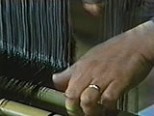
(3) Matching the patterns of the ikat threads by hand to weave the ikat pattern.
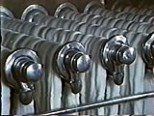
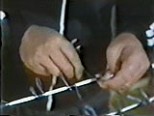
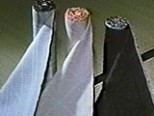
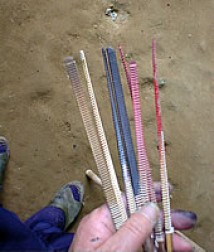
2. The dyeing method for the ikat thread shall be "hand-tying," "board-clamping," or "stencil dyeing."